
I had one room that kept collecting random clutter. It was not a disaster, but it always looked unfinished. There were papers I meant to sort, items that belonged in other rooms, a few things I no longer used, and small piles that somehow kept moving from one surface to another.
I kept telling myself I would organize the whole room properly when I had more time. But that never happened. So I tried something smaller: the one-bag declutter challenge. The idea was simple. I gave myself 60 minutes, picked one room, and filled one bag with things that needed to leave the space. Not a full home reset. Not a perfect organization system. Just one bag, one room, and one hour.
Here’s what happened.
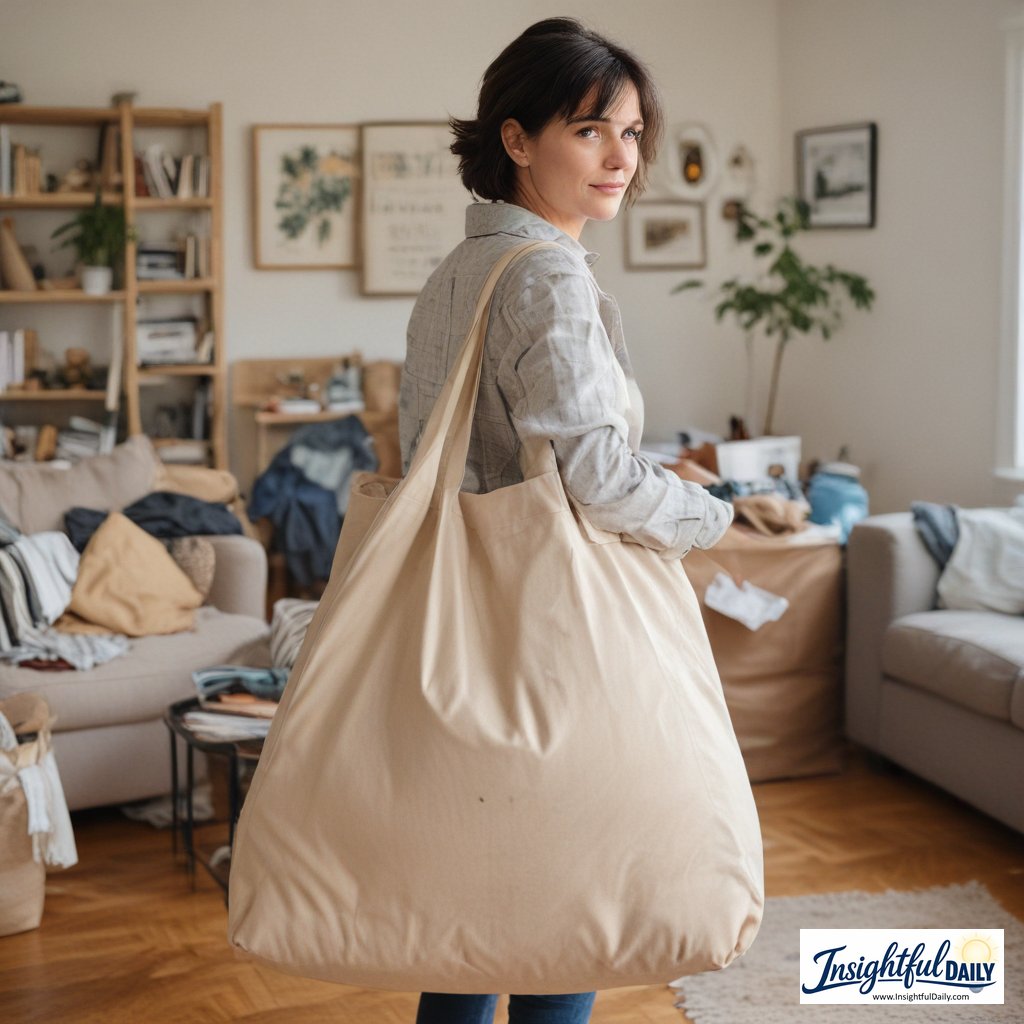
The One-Bag Declutter Challenge
What I tested: Clearing visible clutter from one room using one bag and a 60-minute timer.
Why I tried it: I wanted to make one room easier to use without turning decluttering into a full-day project.
The rule: Fill one bag with items to throw away, recycle, donate, move, or deal with later.
What counted: Anything that did not belong in the room, was no longer useful, or was creating visual clutter.
What did not count: Deep cleaning, reorganizing every drawer, buying storage bins, or trying to finish the entire room perfectly.
The goal: Make the room noticeably easier to use by the end of one hour.
What the Room Looked Like Before
Before starting, the room had a few common problem areas.
There were papers on the desk, a chair with things piled on it, small items on the floor, a few empty boxes, and objects that belonged somewhere else.
Nothing was extreme.
That was part of the problem.
Because the clutter was ordinary, it was easy to ignore. I kept walking past it and thinking, “I’ll deal with that later.”
But “later” kept turning into another week.
The room was usable, but it did not feel reset.
Why I Used One Bag
The one-bag rule helped because it gave the task a clear limit.
If I told myself to declutter the whole room, I would probably overthink it. I would open drawers, sort old papers, reorganize shelves, and turn a small project into a much bigger one.
One bag kept the challenge focused.
I did not need to fix everything.
I only needed to remove enough clutter to make the room feel better than it did when I started.
What I Used
I kept the setup simple.
You only need:
- one trash bag, donation bag, or box
- a timer
- a laundry basket or small bin for items that belong elsewhere
- a cloth or wipes if you want to quickly clean cleared surfaces
- your phone or camera if you want before-and-after photos
I did not buy anything for this.
That helped because buying organizers can easily become a way to delay actually clearing the space.
The 60-Minute Declutter Plan
Here is the exact structure I used.
Minute 0–5: Take a Before Photo and Choose the Area
Before touching anything, I took a quick photo of the room.
This was useful because clutter becomes invisible when you see it every day. A photo made the problem areas easier to notice.
Then I picked the specific area I wanted to improve.
I did not try to fix the entire room equally.
I chose the most visible clutter first:
- the desk
- the floor
- the chair
- the entry area
- the coffee table
- the kitchen counter
- the nightstand
- the surface that bothered me most
This made the challenge feel more manageable.
Minute 5–15: Remove Obvious Trash and Recycling
I started with the easiest category: things that clearly needed to go.
This included:
- empty packaging
- old receipts
- junk mail
- broken items
- used envelopes
- empty bottles or cups
- scraps of paper
- things I already knew I did not need
This step gave me quick visible progress.
It also made the rest of the room easier to sort because the obvious clutter was no longer in the way.
Minute 15–30: Collect Items That Belong Somewhere Else
Next, I grabbed anything that did not belong in the room.
This included:
- dishes
- laundry
- books
- chargers
- tools
- shoes
- bags
- items from other rooms
I put these into a basket instead of leaving the room each time.
That mattered.
If I walked around returning every item immediately, I would get distracted. The basket kept me focused on the room I had chosen.
Minute 30–45: Choose Donation or “Not Using This” Items
This part required more decisions, so I kept it simple.
I asked:
Have I used this recently?
Would I look for this if it disappeared?
Does this need to stay in this room?
Am I keeping this because it is useful, or just because it is here?
I did not force myself to make difficult decisions quickly. If something felt complicated, I put it aside.
The goal was to remove the easy decisions first.
Examples:
- duplicate items
- clothes I no longer wore
- books I did not plan to reread
- decor I did not like anymore
- random cords with no clear purpose
- supplies I had too many of
- items I kept moving but never using
This was where the bag started to fill up.
Minute 45–55: Reset the Main Surface
For the final sorting step, I focused on one main surface.
This could be a desk, table, counter, shelf, or nightstand.
I removed anything that did not need to be there and kept only the items I actually used in that space.
For example, on a desk, I kept:
- laptop
- notebook
- pen
- water
- charger
- one small container for loose items
Everything else had to earn its place.
This made the room feel much clearer, even though I had not organized every corner.
Minute 55–60: Take an After Photo
At the end, I took another photo.
The room was not perfect.
But it looked noticeably better.
The biggest difference was that the surfaces were clearer, the floor had fewer random items, and the room felt easier to walk into.
That was enough.
The One-Bag Declutter Checklist
Use this checklist if you want to try it.
Setup
- Choose one room
- Choose one main area
- Set a 60-minute timer
- Get one bag or box
- Get one basket for items that belong elsewhere
- Take a before photo
Remove First
- Trash
- Recycling
- Empty packaging
- Old papers
- Broken items
- Items that clearly do not belong
Sort Next
- Items to donate
- Items to return to another room
- Items to put away
- Items to decide on later
- Items that need a proper home
Reset One Surface
- Clear everything off
- Wipe it down if needed
- Put back only what belongs
- Move everything else to its proper place or the bag
Finish
- Tie up trash or recycling
- Put donation items by the door
- Return misplaced items
- Take an after photo
- Stop when the timer ends
Photo Prompts to Use
Photos helped because they made progress easier to see.
Here are simple photo prompts:
Before photo: Take a wide photo of the whole room.
Problem-area photo: Take a close-up of the surface or corner that bothers you most.
Bag photo: Take a photo of the filled bag, box, or donation pile.
After photo: Take the same wide photo again from the same angle.
Surface photo: Take a close-up of the cleared desk, counter, chair, or table.
You do not need to post these anywhere.
The point is simply to see the difference.
What Helped Most
The most helpful part was the timer.
Without the timer, I probably would have turned the challenge into a much bigger project. With the timer, I had to keep moving.
The second most helpful part was the one-bag rule.
It gave me a clear goal. I was not trying to create a perfect room. I was trying to fill one bag and make visible progress.
The third helpful part was using a basket for items that belonged elsewhere.
That kept me from wandering around the house and getting distracted.
What Did Not Help
Opening drawers did not help.
As soon as I opened a drawer, the project got more complicated. I started finding things I had forgotten about, and suddenly the room looked worse before it looked better.
Trying to make every decision perfectly did not help either.
Some items were easy to decide on. Others were not. For this challenge, I focused on the easy decisions first.
Buying organizers before decluttering also did not help.
I needed less stuff in the room before I needed better containers.
Before and After Example
Here is what changed in my room.
Before:
- papers on the desk
- random items on the chair
- empty boxes near the wall
- a few things on the floor
- items from other rooms sitting around
- one surface that was too cluttered to use easily
After:
- trash and recycling removed
- donation items collected
- misplaced items gathered
- desk surface cleared
- chair usable again
- floor easier to walk through
- room felt easier to reset later
It was not a dramatic makeover.
But it was a real improvement.
The 15-Minute Version
If 60 minutes feels like too much, use a shorter version.
Set a 15-minute timer and do only this:
- Grab one bag.
- Remove obvious trash.
- Collect items that belong elsewhere.
- Clear one surface.
- Stop when the timer ends.
This smaller version is useful when a room is starting to drift but does not need a full reset.
The 30-Minute Version
For a medium reset, use this:
Minute 0–5: Take a before photo and choose the area.
Minute 5–15: Remove trash, recycling, and obvious clutter.
Minute 15–25: Collect items that belong somewhere else.
Minute 25–30: Reset one surface and take an after photo.
This is enough for a desk, entryway, kitchen counter, or bedroom corner.
Where This Works Best
The one-bag challenge works best in spaces where clutter collects visibly.
Good places to try it:
- bedroom
- desk area
- living room
- entryway
- kitchen counter
- closet floor
- laundry area
- guest room
- home office corner
- kids’ play area
It works especially well when the problem is not deep organization, but everyday clutter that has built up slowly.
When This Is Not Enough
This challenge is not meant to solve every organizing problem.
It may not be enough for:
- a full garage cleanout
- years of stored items
- paperwork that needs careful review
- sentimental items
- complicated storage problems
- shared spaces where other people need to be involved
For those, a slower plan may work better.
The one-bag challenge is best for creating visible progress quickly, not for making every decision in the room.
What I Would Do Differently Next Time
Next time, I would choose the room and bag type before starting.
I would also label three simple categories:
- trash/recycling
- donate
- belongs elsewhere
That would make the hour easier because I would not have to keep deciding what each item meant.
I would also avoid opening drawers until the visible clutter was handled.
That one rule would prevent the project from expanding too quickly.
Who This May Help
This may help if you have a room that feels cluttered but you do not have a full day to organize it.
It may also help if you keep postponing decluttering because the whole project feels too big.
The one-bag version works because it gives you a small, clear target.
You are not trying to fix the entire house.
You are just trying to make one space easier to use.
Final Takeaway
The one-bag declutter challenge worked because it was limited.One room.One bag. One hour.That made it easier to start and easier to finish.
The room was not perfect afterward, but it was noticeably better. The surfaces were clearer, the obvious clutter was gone, and the space felt easier to reset. For me, that was the real value.
A small declutter challenge does not need to transform a room completely to be useful. It just needs to make the next step feel easier.